If you work with copper metal, a simple way to create a unique finish is to apply a heat patina. Here I used a 2″ x 3″ piece of copper sheet metal that I fold formed along the length, bending and folding it over then hammering to make it flat. The result is a stronger, sturdier 1″ x 3″ metal piece. Before applying the patina, I used a texture hammer to give the copper a more interesting surface. Now I was ready to work with the heat patina.
To remove any surface oils and what not from the metal, I scrubbed it with an old toothbrush and Dawn dish detergent soap (baking soda works well too.) After rinsing the metal clean, I dried it with a paper towel, using only the towel to handle the freshly washed metal to avoid any oils from my hands transferring to the copper.
My materials for applying the heat patina were a small butane torch, a dish filled with clean water for quenching the hot metal, a pumice filled soldering pan with a locking tweezers holding clamp, protective eyeglasses, and two locking tweezers (one for the soldering pan and another to remove the heated metal to quench in the water dish.) *Note: If you fire too long, the copper will get a black residue. If this happens, you will need to “pickle” the metal to remove the oxide using a pickle pot.
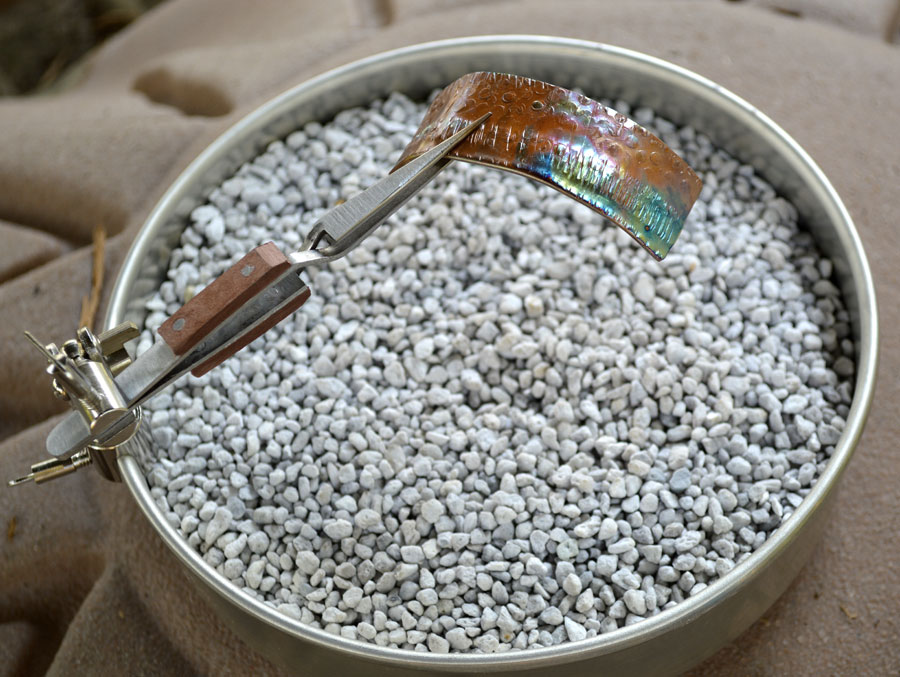 Soldering Pan
What I love about heat patina on copper is that the metal behaves differently every time. Sometimes I get a pinkish rosey brown (one of my favorites); other times there are deep rusty oranges with wonderful blues and greens. The first firing here produced a bit of pinkish brown, though you can see a bit on the right where hints of other colors began to develop.
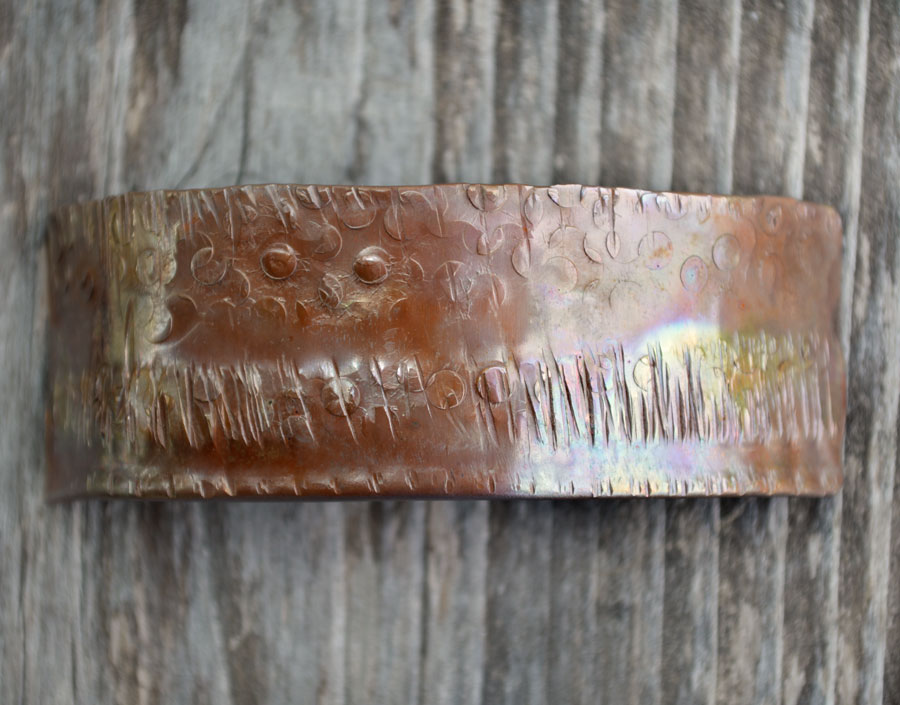
After a few more firings and quenchings, I got a color patina that appealed to me. Love that orange and blue!
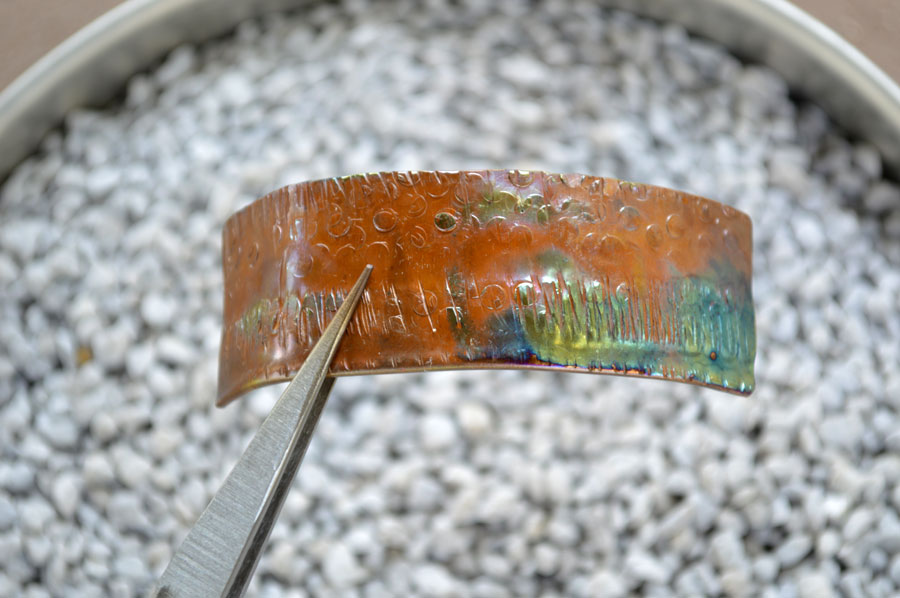
Once you have the heat patina you want, dry the metal thoroughly. If you know your jewelry design, punch or drill any connection holes. If this is your focal piece, you may wish to use an engraving tool to sign the back.
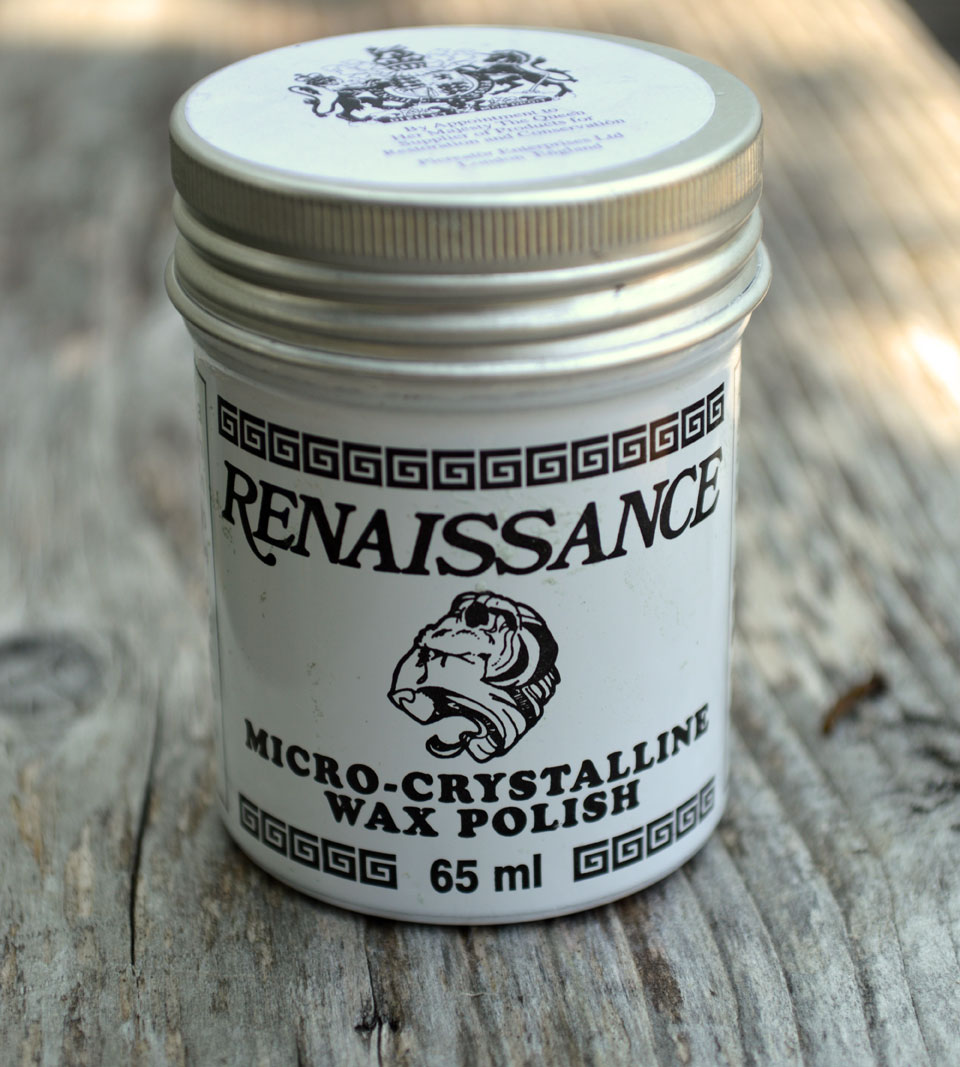
One of the most important steps in applying a patina to metal is to seal the patina. How to seal the patina varies as to the type of patina, but for heat patina on copper I recommend Renaissance Wax (aka Ren Wax) applied with a soft cloth. The wax hardens instantly, after which simply buff gently with a cloth for shine. (You may note the colors appear less vibrant in the finished picture, but rest assured that is not the case–or due to the Ren Wax. Rather, it is simply my personal challenge photographing patinated metal without glare 🙂
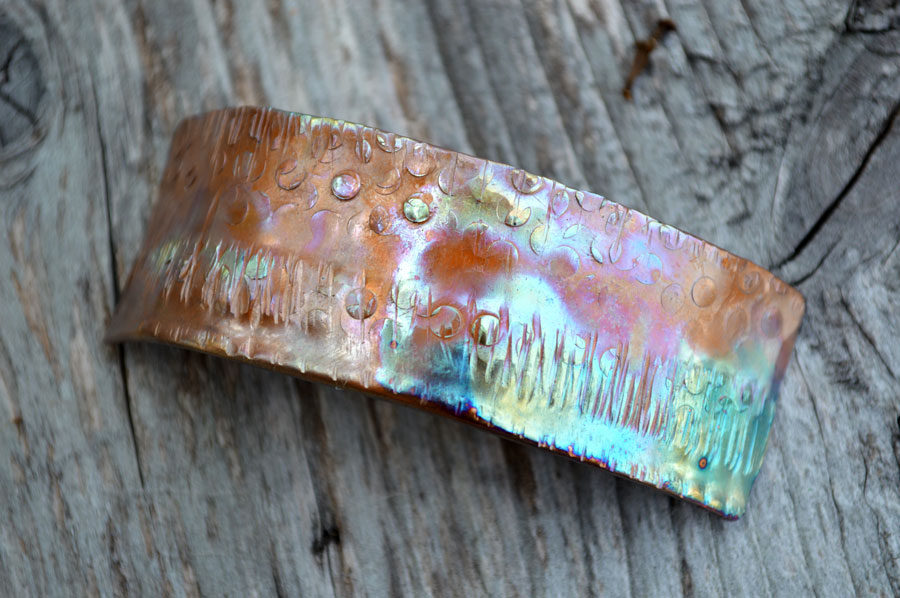
This metal piece will be used as the focal in a new bracelet design, using the rich warm tones of autumn. Stay tuned!
You can see my metal jewelry designs in my Rustic Artisan Jewelry Gallery.