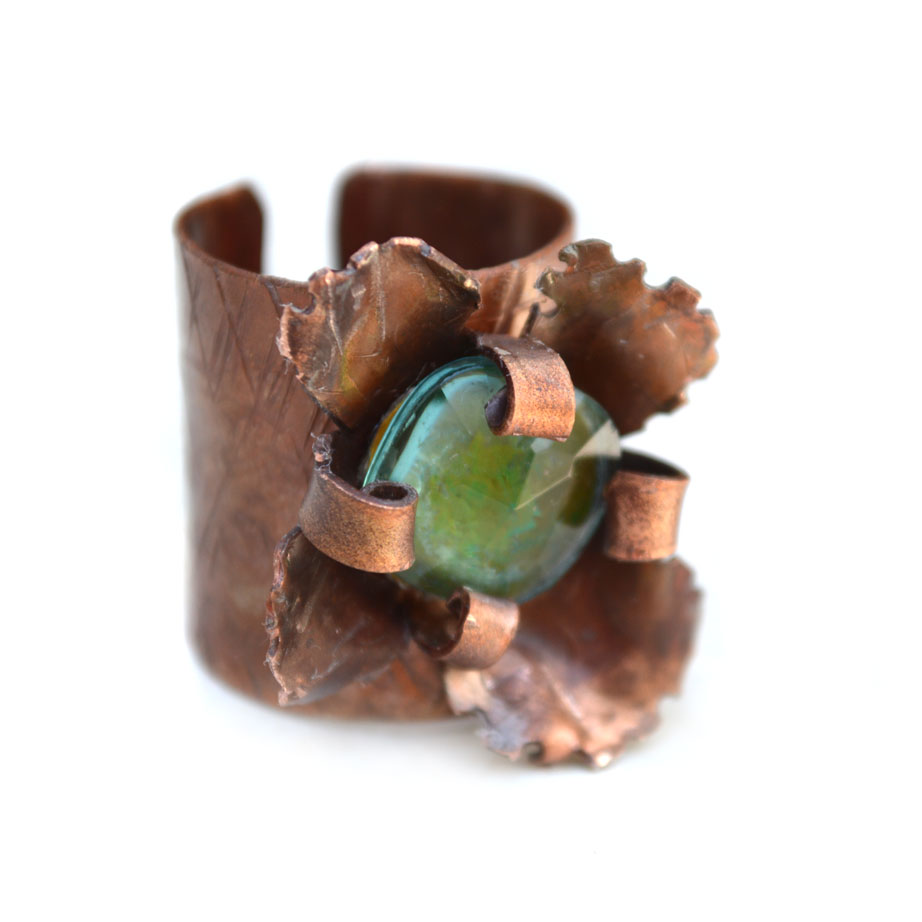
I love copper. No other metal responds to a torch with such a varied palette–not just warm near mocha pinks, but vibrant marbled teals as well. Plus, it is easy to add texture and create a rustic finish (much more interesting than the shiny sheet metal of its beginnings!)
Grab some sheet metal from your local hardware store, along with some metal sheers, a texture hammer, a metal file and/or emery board, safety glasses, and a bench block. Add a butane torch for heat patina, plus some Renaissance Wax to seal the color finish. A ring mandrel (even a plastic one) will be useful to bend and shape the finished band. With those essentials, a basic band ring can be formed…becoming a sort of blank artist’s canvas. Embellishments such as metal flowers, stones, etc. can be riveted or wired using a metal hole punch or center punch, making each ring a true artisan original.
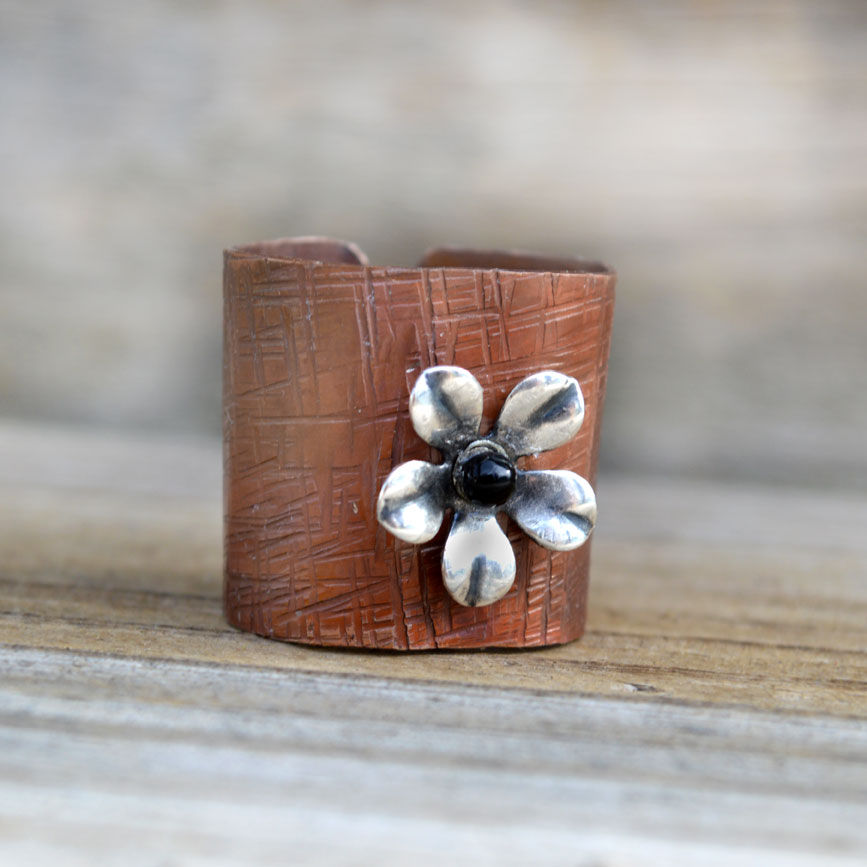
For the copper flower band ring, each component–save for the center stone–was handcrafted from sheet metal: cut, filed, textured, bent, folded, wrapped, and torched. A wonderful book, Metal Jewelry In Bloom by Melissa Cable, has flower templates that include the metal tabs above I used to hold the center stone in place. For those just learning the basics of working with metal, this book is an excellent addition to your artist library.
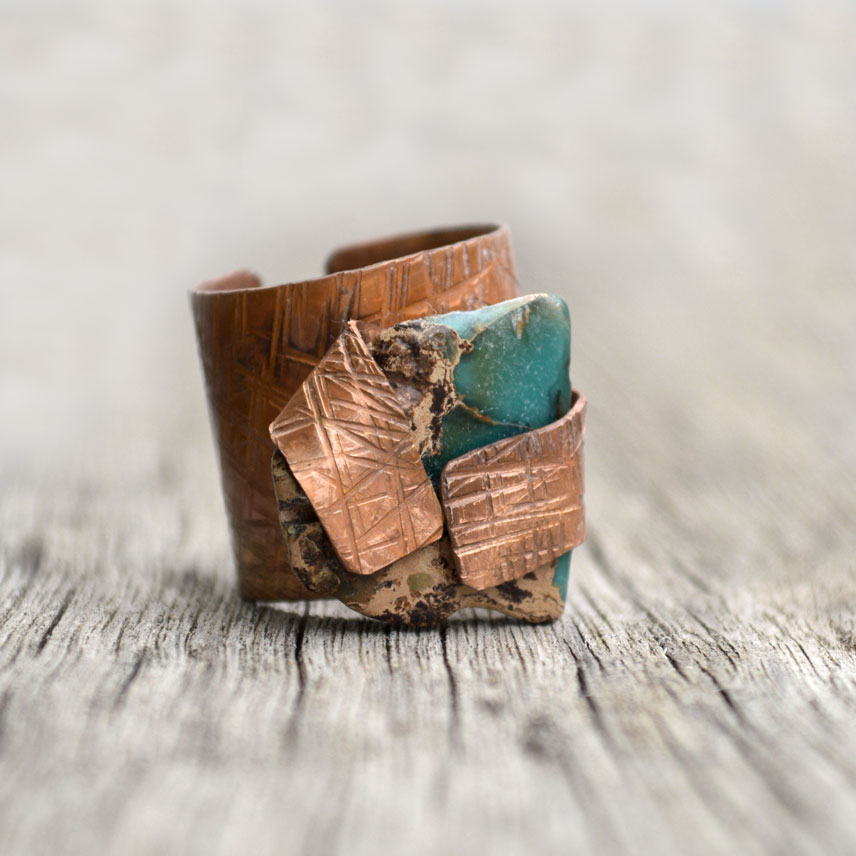
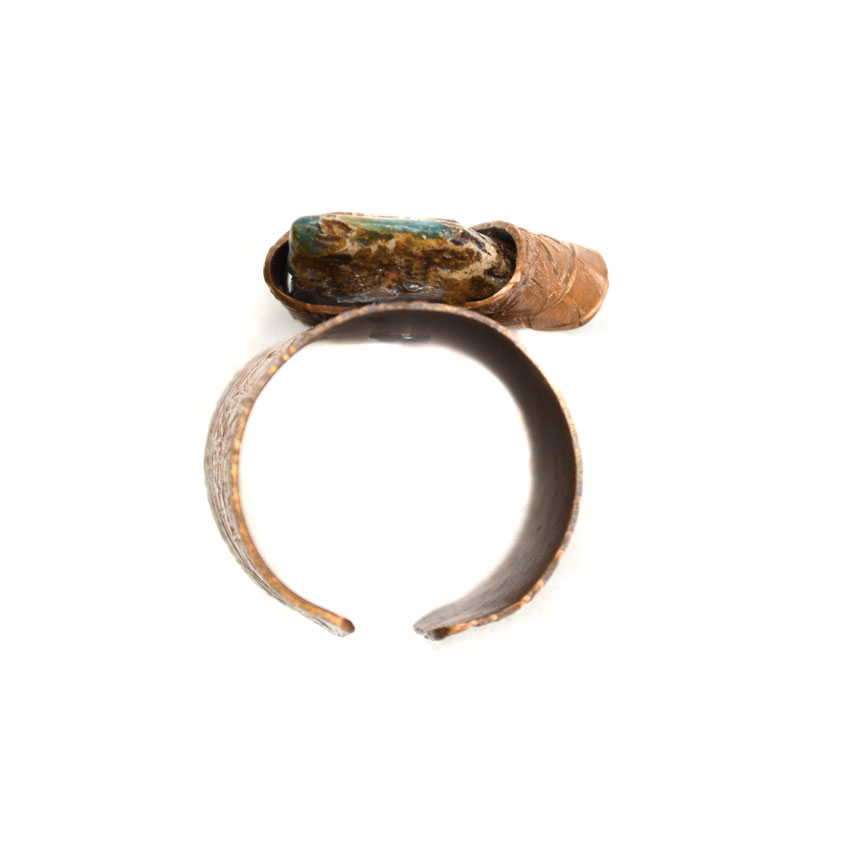
For my jasper stone copper band ring I used a similar tab concept, riveting a narrower copper band to the center of the ring and using it to wrap around and secure the stone.
Next up for my studio supply list: a disc cutter and dapping set. I can hardly wait 🙂