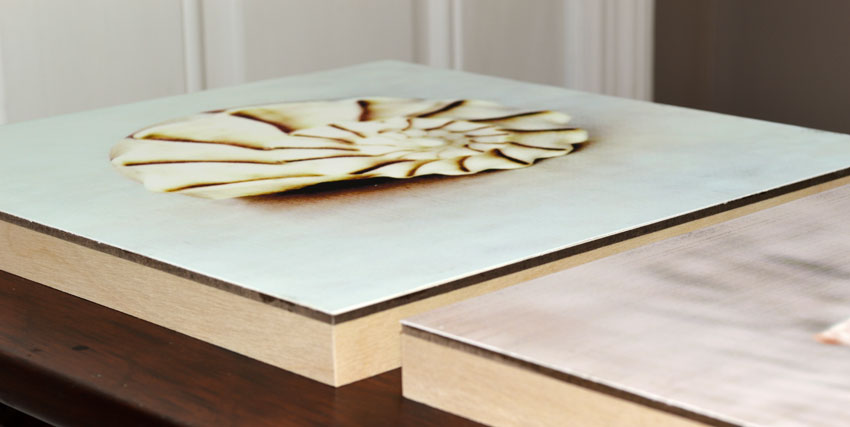
About a year ago a client wanted to purchase some of my seashell photography as canvas prints. As the cost pushed the limits of her budget, I suggested a less expensive alternative that would fit with her modern decor design–mounting the photographs on artist’s claybord. This is a fairly simple process to do with smaller size prints (11 x 14 and under.) Though this may be done with images on any type of photo paper, my experience is based only on using a 100% cotton fine art paper, which is what I recommend.

You will need:
- A large flat surface to work on
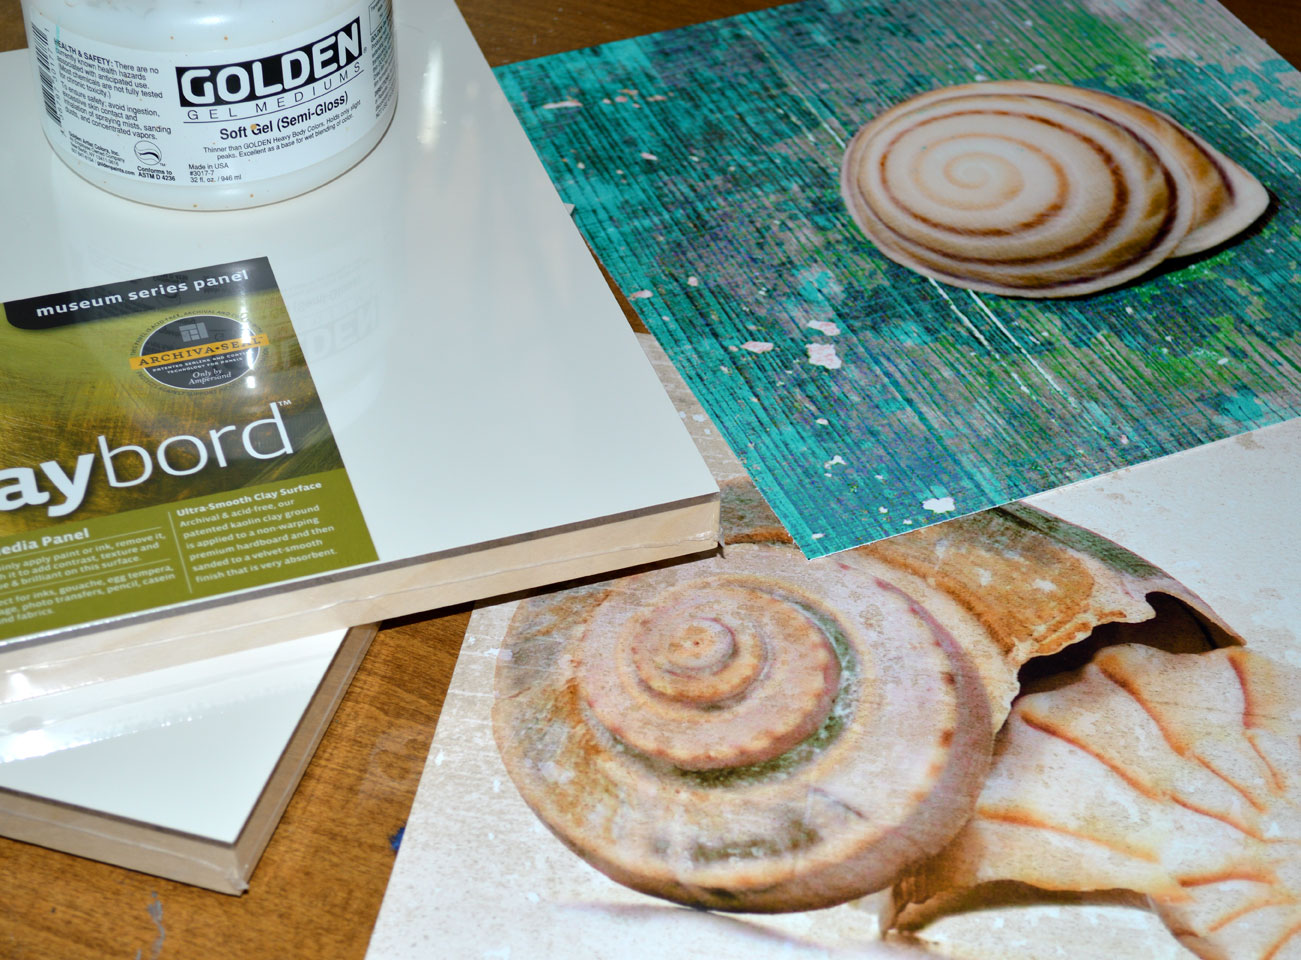
- Flat or cradled claybord (I prefer Ampersand Claybord panels)
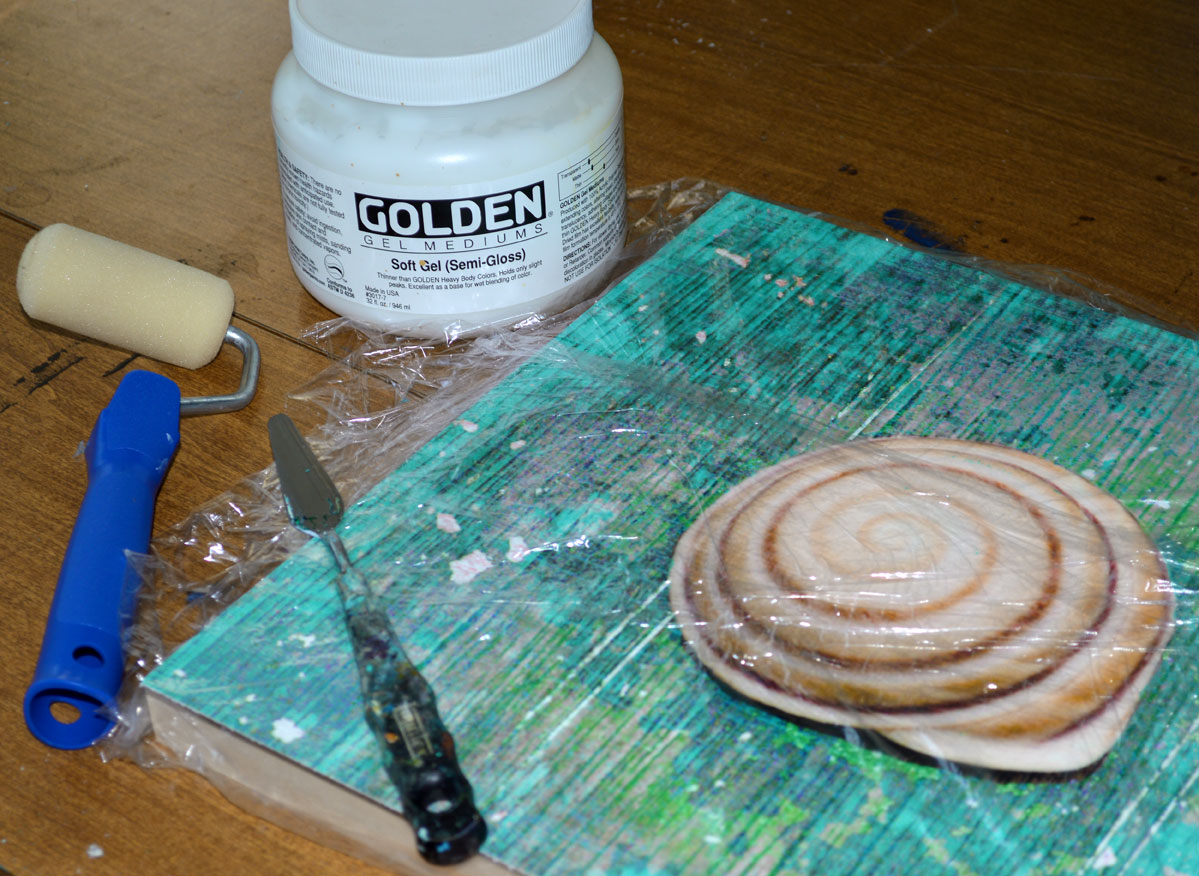
- Golden Soft Gel (Semi-Gloss) acrylic medium
- Plastic wrap
- Palette knife
- Dry unused paint roller or brayer
- Moist paper towels
- Heavy books or weighted materials
- Images to mount, printed on cotton fine art paper
*Be sure your printed images and claybord panels are the same size.
- Lay out your claybord panel(s) and image(s).
- Prep the surface of your panel. Using your palette knife, thinly cover the surface of the claybord with soft gel. Be sure the entire surface is covered–not so thinly that the gel begins to dry before you apply the image but not so thickly as to cause the paper to bubble.
- Here is the tricky part. Line up the edges of your image with the edges of the panel and place the image on the panel. Do this lightly at first to allow for adjustment–trust me, you will need to–before pushing down more firmly so that all edges line up. If an edge or two of your 8×10 image is just slightly larger than your panel (it happens as sizing is subject to human error) no worries; it can be trimmed after it has dried to the panel.)

4. Tear a piece of plastic wrap and place over the newly glued image (this protects your image from finger marks or other surface damage.) Using your fingers, press down firmly from edge to edge to adhere image to board, then do the same thing with the dry paint roller and/or brayer.
5. Carefully inspect the sides. If any excess glue is present, use a moist paper towel to remove. Make sure there are no gaps or bubbles between the edge of the image and the edge of the board. Make sure there are no bubbles or wrinkles on the image. Remove the plastic wrap.
6. Place a new clean piece of plastic wrap over the image. Turn the image over so the image and plastic are face down. Cover the claybord with heavy books or other weighted materials. Leave for 24 hours to set and dry.*
*It is important to dry your image in a non-humid environment, ie. no wet basement.
7. After 24 hours, collect the newly mounted image, remove the plastic and inspect for bubbles, wrinkles, or any evidence of non-adherence. If it needs more time to set, repeat step 6. If all looks great, then allow your image to continue curing uncovered for at least another 24 hours.
8. Once you are satisfied and the image has cured “plastic free” for at least a day, make sure the surface of your image is dust free. Using your palette knife, cover the entire surface of the mounted image with a thin coat of soft gel. Don’t panic–this will look cloudy, but will dry clear–providing your print with a protective layer that will resist dust and UV light. Be sure to apply the gel smoothly around the edges, using the knife and moist paper towel to avoid clumps and glops.
9. Voila! You are finished. When surface is completely dry, you can apply your preferred hanging hardware to the back side of your art.

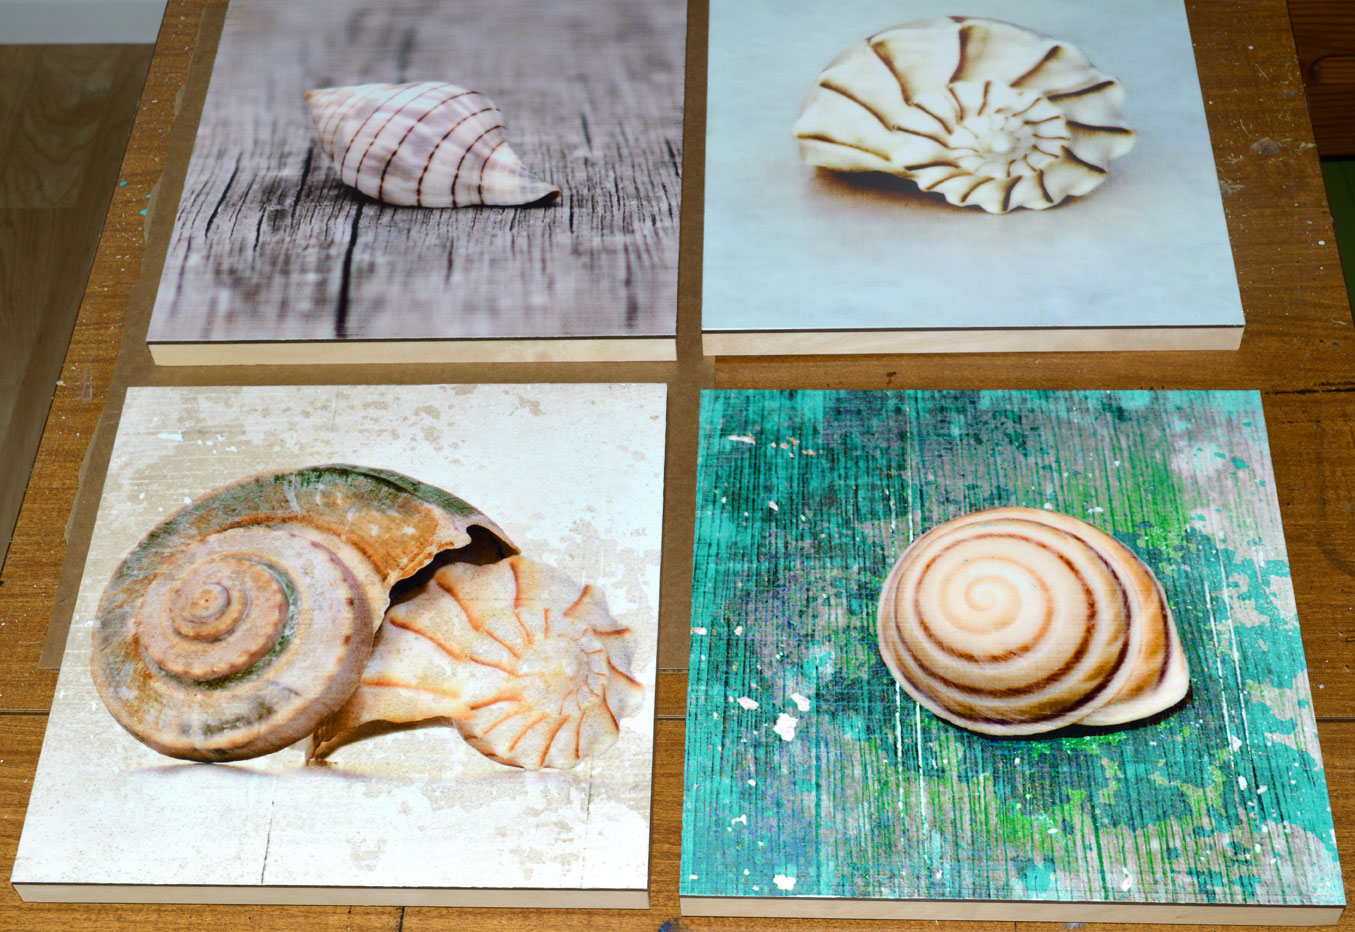
The prints I used were custom sized as 12 x 12 for this project. Starting on the bottom left and going clockwise are:
Rustic Whelk Shells
Banded Tulip Shell (without border)
Knobbed Whelk
Sea Snail
All artwork © 2015 Catherine Jeltes, Gallery Zoo Art. All Rights Reserved.