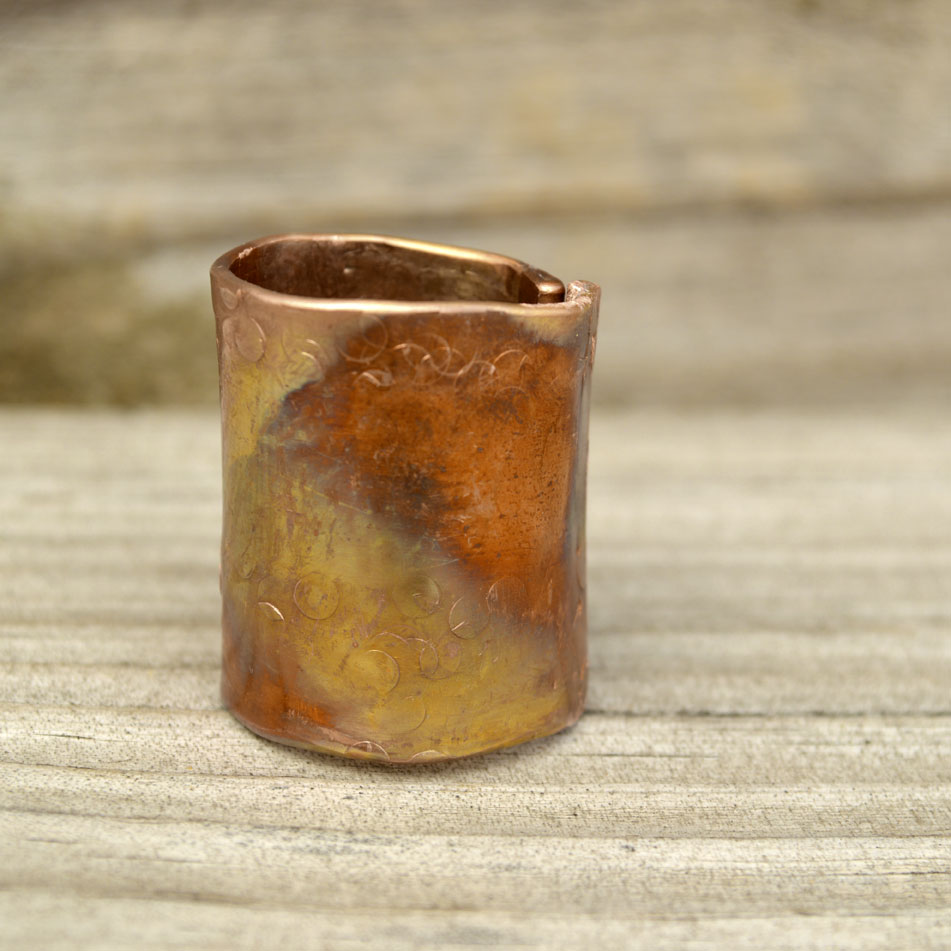
By now you may know that copper is my favorite metal to work with. As a base metal, it’s less expensive than silver, it’s rustic, warm in tone, and allows for a rainbow of patinas. With some basic tools, you can make a simple copper band ring that stands alone as a minimalist design or can serve as the framework for more complex designs.
Here are the tools you will need:
- Copper sheet metal
- Metal shears
- Fabric tape measure & pencil
- Hammer
- Texturing hammer (optional)
- Steel bench block
- Metal file
- Ring mandrel (or something cylindrical to shape ring)
- Vise to hold mandrel (optional)
- Nylon jewelry pliers (to help bend edges of metal before hammering)
- Torch
- Tweezers to handle hot metal
- Glass or ceramic bowl filled with water
- Soldering pan or block
- Safety glasses
- Old toothbrush and dish soap to de-grease metal
- Renaissance wax (to seal patina if heat patina is applied)
Step 1: Determine the size and width of your band ring.
Find the size on your mandrel you want your ring to be. Using your fabric tape, wrap it around the mandrel and measure. Add about an inch to that length to account for bending the metal at the ends of the band (you will bend about 1/2 an inch on each end.) Measure on your own finger how wide you want the ring, then add about 1.5 inches to that width. Mark the measurements on your copper sheet metal. Wearing your safety glasses and using your metal shears, cut out your ring band.
Step 2: Add some texture.
Wearing your safety glasses (do you sense a theme here?) put your band on the bench block and hammer away. You want to apply just a bit of texture here before bending & hammering the edges, but don’t hammer too much or you will work harden the metal and will need to heat it in order to soften it up.
Step 3: Bend & hammer the edges.

Using your nylon pliers, grip a bit inwards from the corner along the long edge of your band and bend. Do this on the corner opposite along the same long edge. This should have the metal curved upwards just enough to allow you to lay the metal on the bench block and hammer it flat. You may need to use the pliers in the same manner in the middle of the edge before hammering. Repeat this process on the second long edge and hammer flat.
If your metal is not too work hardened at this point, you should be able to apply this same process to each of the short ends. It will be a bit more difficult as you will be bending two layers of metal and hammering four layers. If you find it is too difficult, you will need to use your torch and soldering block or pan to heat the metal to a workable consistency.*
*(If you apply heat too long, your metal will develop a black substance known as fire scale. If this happens, you will need a pickling agent to remove it.)
Step 4: Hammer texture.
If you want to add more texture to your metal, now is the time. Wearing your safety glasses and using either a texture hammer or a regular hammer, place your metal on your bench block and pound away. When you are satisfied with your texture, use your metal file to smooth any sharp edges (usually on the corners.) If you don’t want to add any more texture beyond what you did in step 2, file any rough edges and move onto step 5.
Step 5: Apply heat patina.
You will need to clean (ie. de-grease) your metal before applying your heat patina, as any oils or substances on the metal will impact the development of the patina. Using an old toothbrush and dish soap (I prefer Dawn. If it can remove oil from bird feathers, it is perfect for cleaning metal), scrub the copper front and back, rinsing and repeating several times. Carefully lay on paper towel, touching minimally with fingers. Dry and use paper towel to put copper on soldering block or in soldering pan, or use a tweezers if you have one. Wearing your safety glasses, use butane torch to apply heat. Stop heating when desired patina develops. Use tweezers to pick up metal and quench in water. I find it is helpful to heat for a bit, then quench in water, then heat again to get the patina I am most satisfied with.
Step 6: Shape your ring.
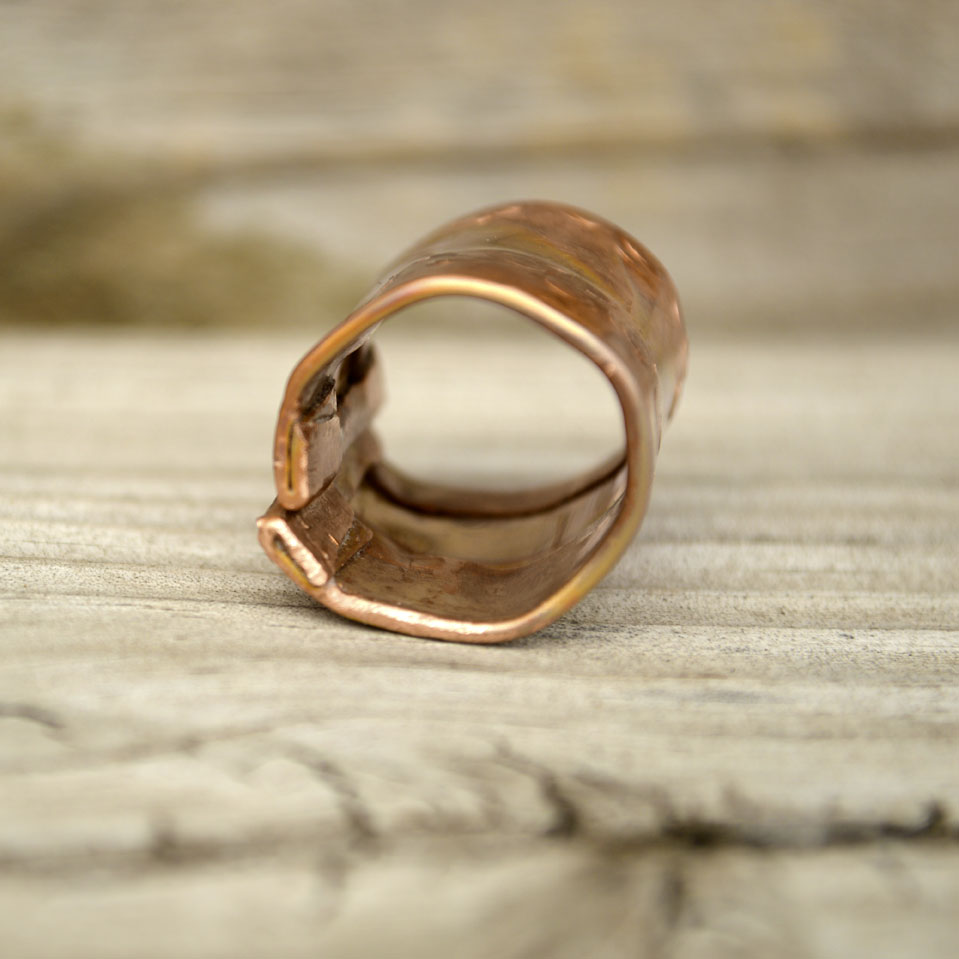
Using a ring mandrel or other cylindrical shape, gradually bend your metal to form a curve and slowly shape your ring. You may need to use a rawhide mallet to gently hammer your metal into the form you desire. If your metal is highly textured and you aren’t concerned with adding more, you can also use a regular hammer to gently–gently!–shape your metal into cylindrical form.
Step 7: Seal your patina.
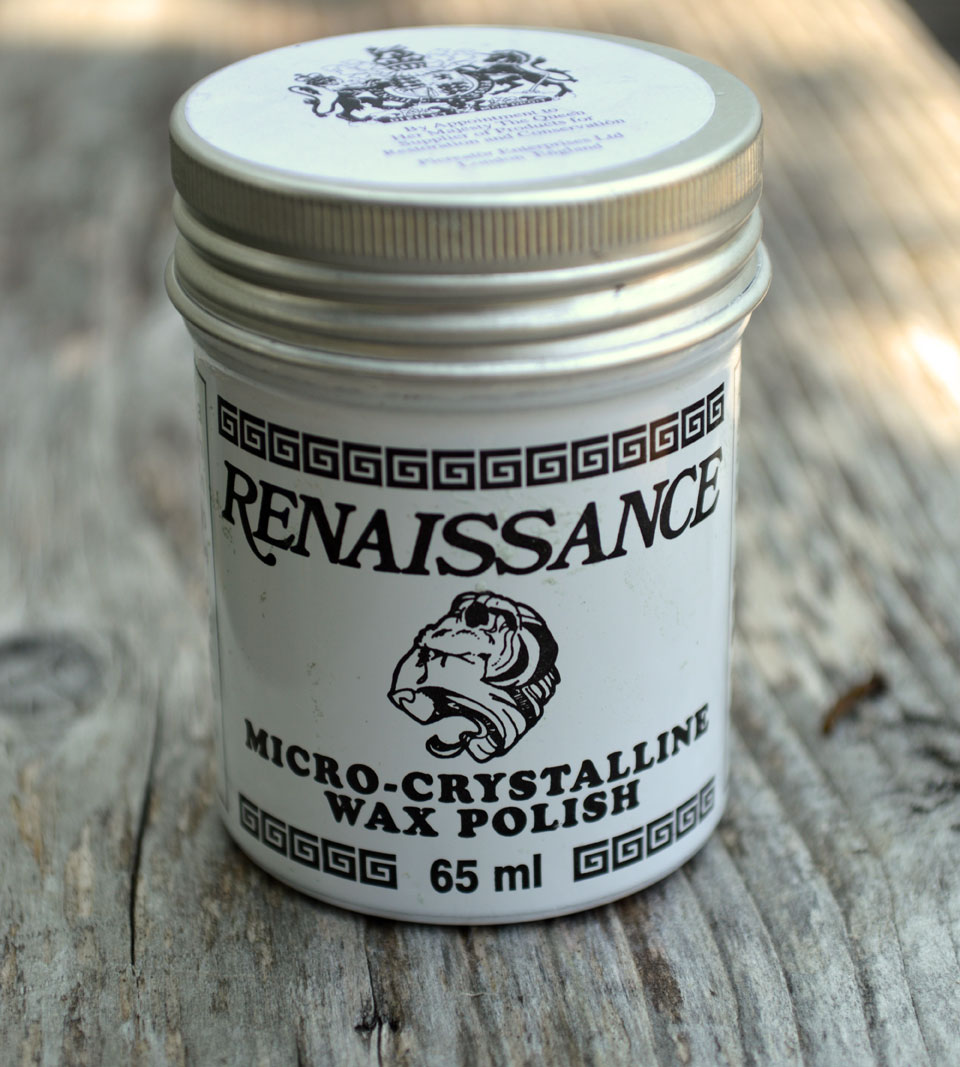 Using Renaissance wax, take a soft cloth and rub it onto your ring, taking care to cover all the exposed metal (you will need to apply in stages as part of the ring will be touching a surface.) Allow to dry and then buff to shine with another soft cloth.
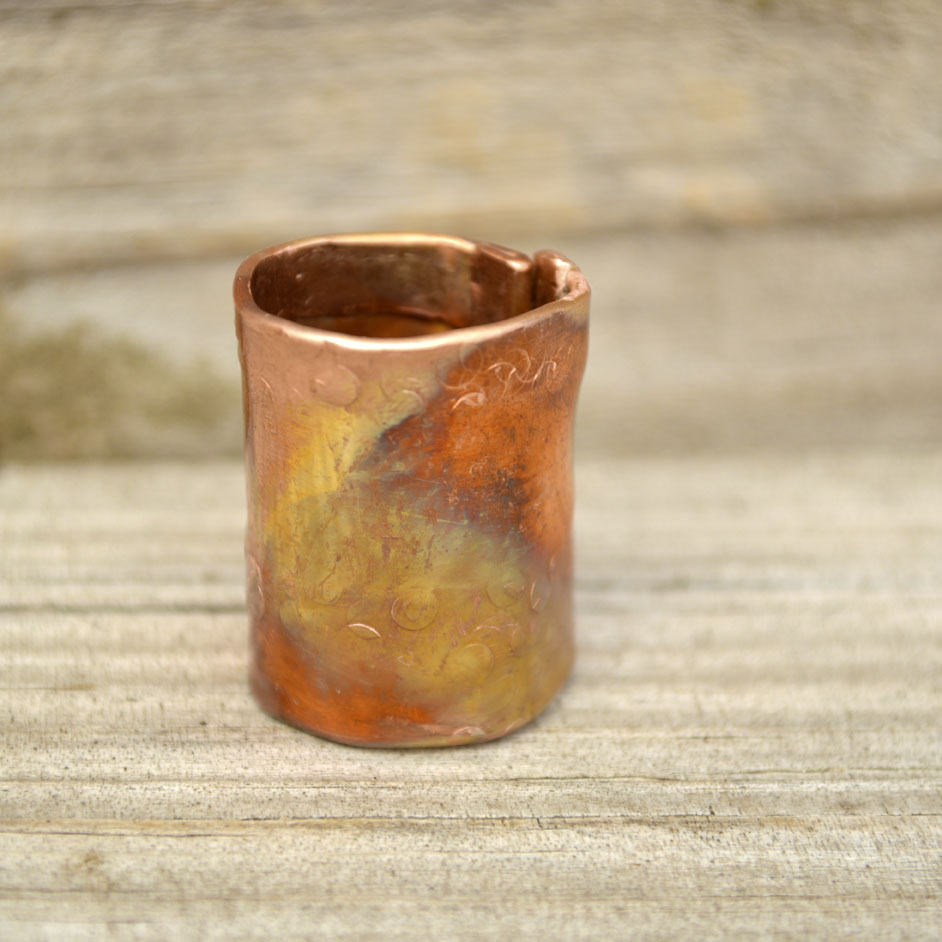
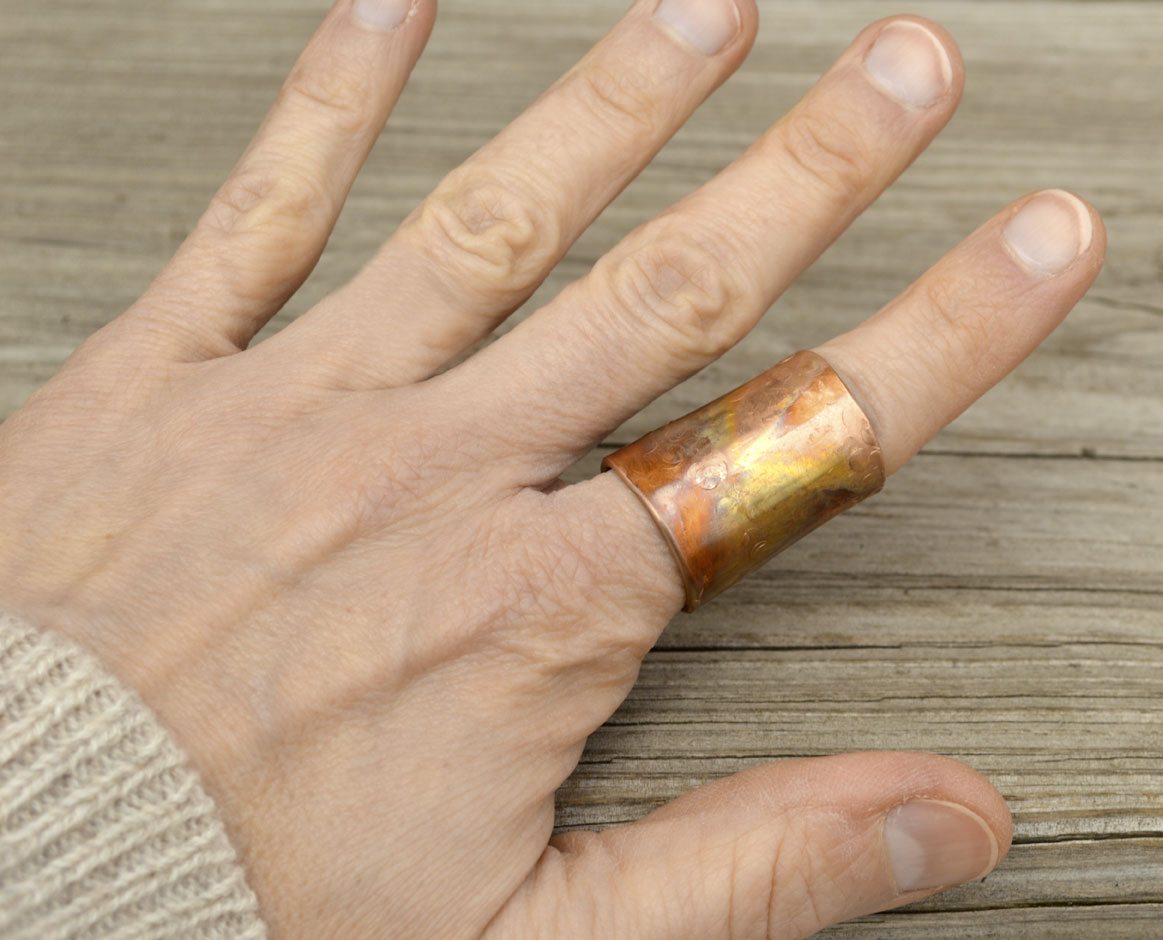
I made my band extra wide–more of a statement ring–to give it a bit of character. There are lots of other patinas you can try–Guilder’s paste, salt and vinegar…endless possibilities. Play around with it and see what you can come up with!
All photography © Catherine Jeltes, Gallery Zoo Art. All Rights Reserved.
If you liked this post, you may also like:
